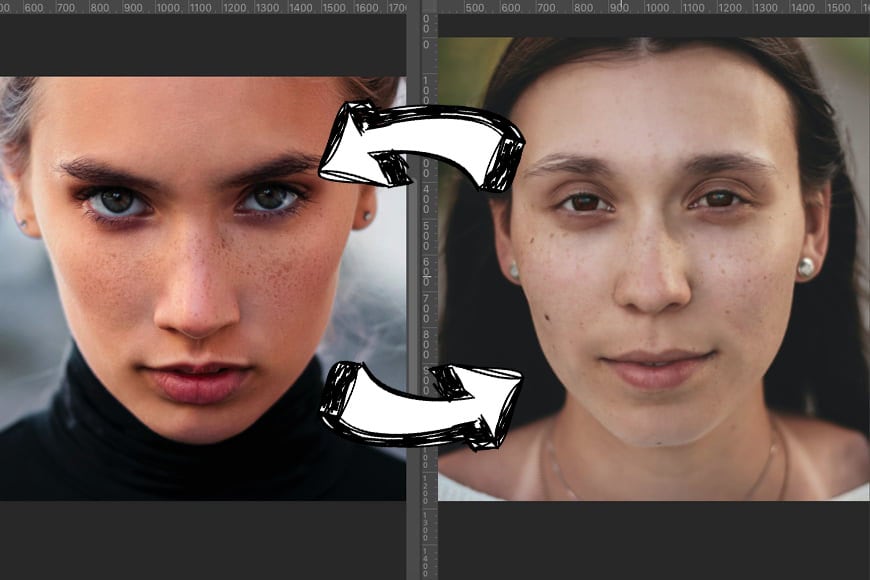
Face swapping has become a popular trend, making its way into everything from memes to professional photo editing projects. Whether you're looking to create amusing content or refine photos, Photoshop offers incredible tools to achieve seamless face swaps. However, mastering this skill requires a mix of precision, creativity, and technique. This guide will help you achieve flawless face swap photoshop while focusing on the benefits of this incredible feature.

Why Learn Face Swapping in Photoshop?
Face swapping is about more than just entertainment; it has practical applications across industries. Whether you're a graphic designer, marketer, or hobbyist, this creative skill can:
Enhance Creativity: Face swaps allow for creative expression, giving you the opportunity to transform images into unique, personalized designs.
Save Time in Edits: Photoshop’s powerful tools make it quick and easy to manipulate faces while maintaining photo quality.
Boost Engagement: Using face swaps as part of a campaign or post can increase visual appeal, helping your content stand out in a crowded digital space.
Perfect Portraits: Sometimes the perfect shot can be ruined by closed eyes or the wrong expression—face swaps fix that issue seamlessly!
Now that you see the advantages, let's explore how to create a perfect face swap step by step.
Step-by-Step Process for Seamless Face Swaps
To achieve a realistic and polished result, follow these simple steps:
Step 1: Select the Right Images
The key to a convincing face swap lies in the images you choose. Both faces should have similar angles and lighting. Keep in mind:
Resolution Matters: High-resolution images provide more detail and ensure consistency.
Matching Expressions: It’s easier to blend faces naturally if the expressions are similar.
Step 2: Open Both Images in Photoshop
Once you’ve selected your images, open them in Photoshop. Use the "File" tab and select “Open”. It’s best to place the images side by side as you work for reference.
Step 3: Select the Face to Swap
To remove one face and place it on another:
Use the Lasso Tool or Pen Tool to carefully outline the face you want to extract.
Copy the selection using `Ctrl+C` (Windows) or `Command+C` (Mac).
Step 4: Paste the Face onto the New Base
Paste the copied face onto the recipient's face using `Ctrl+V` (Windows) or `Command+V` (Mac). Resize and position it using the Move Tool (`V`) and the Transform Command (`Ctrl+T`).
Step 5: Blend the Edges with Layer Masks
To create a seamless merge between the swapped face and the base image:
Add a Layer Mask to the face layer.
Use a soft brush with reduced opacity to blend the edges, so there are no visible lines.
Step 6: Adjust the Colors and Lighting
Use adjustment tools like Hue/Saturation, Brightness/Contrast, or Curves to fine-tune the face’s tone and lighting. This step ensures the swapped face matches the overall color scheme.
Step 7: Final Touches
Perfect the image by:
Retouching skin tones with the Healing Brush Tool.
Sharpening the final image with Filter > Sharpen to make it look crisp.
Cropping or resizing for a polished finish.
Benefits of Perfect Face Swaps in Photoshop
Creating high-quality face swaps isn't just about achieving technical accuracy; it’s about unlocking a world of possibilities:
Professional Applications: Face swapping is an essential tool in photography, marketing campaigns, and media projects.
Amusing Content: Memes and entertainment content become ten times funnier and more engaging with perfectly executed swaps.
Improved Skills: Learning and practicing face swaps help sharpen your editing skills, making you more proficient with Photoshop’s tools.
 icons at the top right corner of the subsection.